

Welcome, and thanks for supporting and patronizing WorkingGran-Gran2020 Print On Demand Website and Platform. Your support helps me to help and donate to the homeless and shelterless organizations. May the Lord richly bless you in your support.
In recent years, the art of mug printing has gained immense popularity. Whether you are looking to create personalized gifts for loved ones, custom business merchandise, or simply want to try your hand at a creative and rewarding hobby, learning how to print on mugs using a heat press can be an incredibly fulfilling experience. This guide will walk you through the essential steps and techniques, ensuring that you achieve professional-quality results every time.
Heat press mug printing involves transferring designs onto mugs using heat and pressure. It’s a method renowned for producing vibrant, long-lasting images that can withstand daily use and washing. This technique is not only accessible for beginners but also versatile enough for seasoned crafters and small business owners.
The beauty of heat press printing lies in its simplicity and efficiency. With the right equipment and a bit of practice, you can transform plain mugs into works of art that reflect your personal style or brand identity. From quirky quotes and intricate patterns to photos and logos, the possibilities are virtually endless.
In this article, we will cover everything you need to know to get started, from choosing the right materials and equipment to mastering the printing process. So, grab a cup of coffee, and let's dive into the fascinating world of heat press mug printing!
Ready to explore the exciting journey of mug printing? Don't forget to check out our wide range of custom designs and printing solutions on our WorkingGran-Gran2020 RedBubble shop.
Essential Supplies for Mug Printing
Before diving into the mug printing process, it's crucial to gather all the necessary supplies. Having the right tools and materials on hand ensures that your project runs smoothly and yields high-quality results. Here's a comprehensive list of essential supplies for mug printing:
- Heat Press Machine: A specialized heat press designed for mugs is an absolute must. These machines are tailored to apply the right amount of heat and pressure to adhere your design to the mug.
- Blank Mugs: Choose high-quality, sublimation-ready mugs. These are specially coated to accept the sublimation ink and ensure your design is vibrant and durable.
- Sublimation Printer: Unlike regular printers, sublimation printers use special inks that turn into gas when heated and bond with the mug's surface. Ensure you have a reliable sublimation printer and compatible ink.
- Transfer Paper: This paper holds the design that will be transferred onto the mug. Make sure you use sublimation transfer paper for the best results.
- Heat Resistant Tape: This tape secures the transfer paper to the mug, ensuring that it doesn't shift during the pressing process and ruin your design.
- Heat Resistant Gloves: Safety first! These gloves protect your hands from burns when handling the hot mug post-pressing.
- Protective Paper or Teflon Sheets: Place these between the mug and the heat press to prevent any ink from transferring onto the press itself and to protect your design.
- Design Software: Software like Adobe Photoshop or CorelDRAW helps you create and customize your designs before printing. Make sure you're comfortable using a design program to bring your ideas to life.
With these supplies at your disposal, you're well on your way to mastering the art of mug printing. Each item plays a critical role in ensuring that your designs are transferred accurately and beautifully onto your mugs, making them perfect for personal gifts or business merchandise.
Preparing Your Mug and Design
Once you've gathered all your essential supplies, the next step is to prepare your mug and design for the printing process. Proper preparation ensures that your final product will look professional and last a long time.
Cleaning the Mug: Start by thoroughly cleaning your blank mug. Use a lint-free cloth and a bit of rubbing alcohol to remove any dust, oils, or residues. This step is crucial as even small particles can lead to imperfections in your design transfer.
Creating Your Design: Now it’s time to get creative! Use your preferred design software to create or import your design. Ensure that the design dimensions match the printable area of your mug. Typically, a design area of 8.5 x 3.5 inches works well for standard mugs. Remember to use high-resolution images to avoid pixelation.
Printing the Design: Once your design is ready, print it onto the sublimation transfer paper using your sublimation printer. Make sure to print in reverse (mirror image) so that it appears correctly when transferred to the mug. Allow the ink to dry completely before proceeding to the next step.
Trimming the Design: Carefully cut around your printed design, leaving a small margin. This ensures that the entire design area is transferred without any borders or unwanted edges.
Positioning the Design: Wrap the transfer paper around the mug, ensuring it is tight and aligned correctly. Use heat resistant tape to secure the paper in place. This prevents any movement during the heat press process, which could lead to a blurry or misaligned design.
By following these steps meticulously, you set the stage for a successful and professional-looking mug print. Proper preparation is key to ensuring your design adheres well and stands out beautifully on the final product.
Using the Heat Press Machine
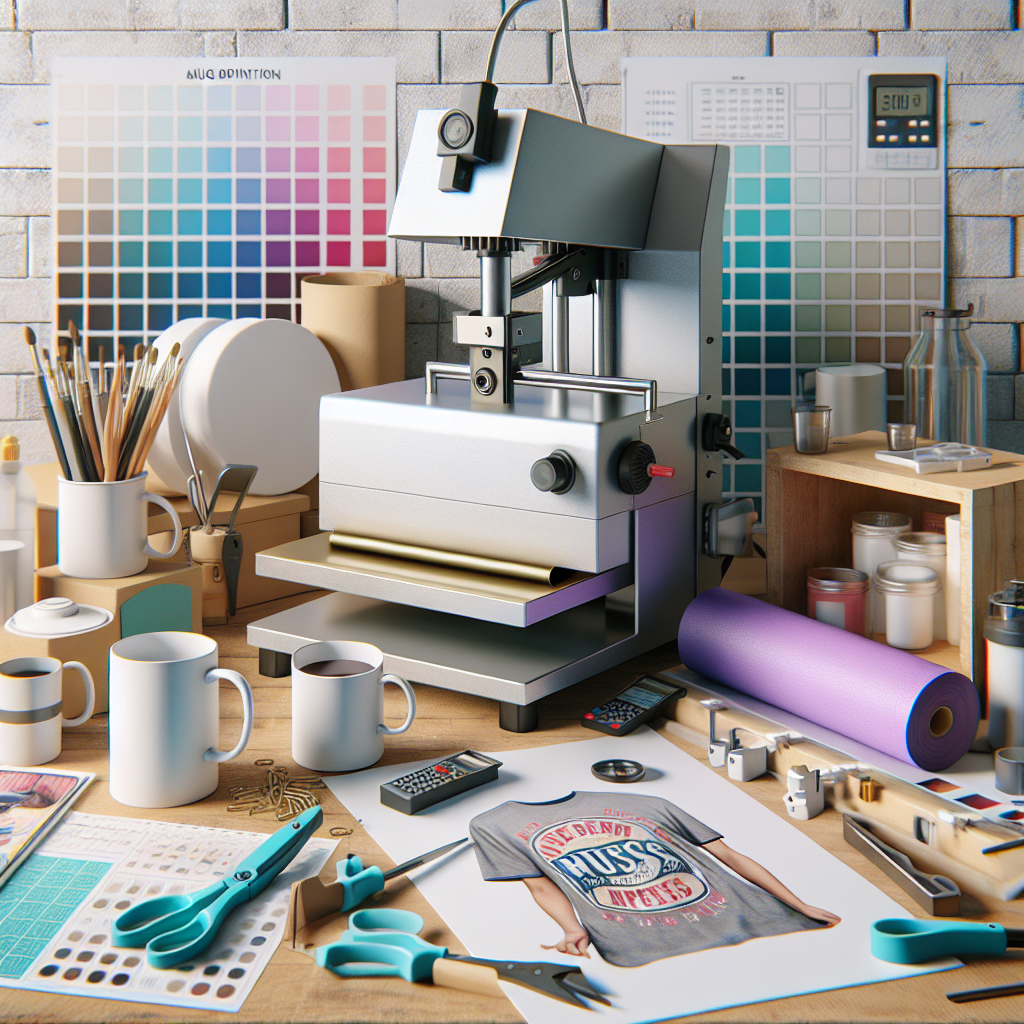
Now that your mug and design are prepared, it's time to move on to the heart of the process: using the heat press machine. This step requires careful attention to detail to ensure a flawless transfer.
Preheating the Heat Press: Begin by preheating your heat press machine to the recommended temperature, typically around 400°F (204°C) for sublimation transfers. Preheating ensures that the heat is evenly distributed and ready for the transfer process.
Setting the Timer: Set the timer on your heat press machine to the appropriate duration, usually between 180-200 seconds. This timing can vary based on the specific materials and equipment you are using, so always refer to your machine's guidelines.
Positioning the Mug: Carefully place your mug with the secured design into the heat press. Ensure that the design area is centered within the press to achieve an even transfer. Use a heat-resistant glove if necessary to protect your hands from the high temperatures.
Applying Pressure: Close the heat press to apply firm and even pressure to the mug. The combination of heat and pressure will activate the sublimation ink, causing it to transfer from the paper to the mug's surface. Ensure that the pressure is not too high, as excessive pressure can damage the mug or distort the design.
Monitoring the Process: Keep a close eye on the heat press during the transfer. Once the timer goes off, carefully open the press and remove the mug. Be mindful that the mug will be extremely hot, so handle it with caution using heat-resistant gloves or tools.
Cooling the Mug: Allow the mug to cool down naturally before removing the transfer paper. This cooling period lets the ink set properly, ensuring a vibrant and durable design. Once cooled, gently peel off the transfer paper to reveal your beautifully printed mug.
Using the heat press machine correctly is crucial for achieving a professional and long-lasting print. By following these detailed steps, you can ensure that your design transfers seamlessly, resulting in a high-quality, custom mug that stands out.
Troubleshooting Common Issues
Even with careful preparation and execution, you might encounter some common issues when printing on mugs using a heat press. Understanding these problems and knowing how to fix them can save you time and frustration.
Blurry or Fuzzy Images: If your printed image appears blurry or fuzzy, it could be due to insufficient pressure or improper alignment. Ensure that the heat press is applying consistent and even pressure across the entire mug. Double-check that the design is correctly centered and secured before pressing.
Faded Colors: Faded colors can result from insufficient heat or an inadequate transfer time. Verify that the heat press is set to the recommended temperature (typically around 400°F or 204°C) and that the timer is set correctly. Additionally, make sure you are using high-quality sublimation ink and transfer paper designed for the process.
Ghosting or Double Images: Ghosting occurs when the transfer paper shifts during the pressing process, leading to a double image effect. To prevent this, use heat-resistant tape to secure the transfer paper firmly to the mug. Avoid moving or jostling the mug while it is in the heat press.
Uneven Transfers: Uneven transfers may be caused by inconsistent pressure or an improperly leveled heat press. Ensure that the heat press is calibrated correctly and that the pressure is evenly distributed. If necessary, use a silicone pad to help distribute pressure more uniformly.
Cracking or Peeling Designs: Designs that crack or peel after printing typically result from using the wrong type of mug or improper heat settings. Always use mugs specifically coated for sublimation and adhere to the recommended temperature and pressure guidelines provided by your heat press manufacturer.
By addressing these common issues promptly, you can improve the quality and durability of your printed mugs. Troubleshooting is an essential part of the learning process, and over time, you'll become more adept at identifying and resolving these problems, leading to consistently excellent results.
Caring for Your Printed Mugs
After successfully printing your designs on mugs, it's crucial to know how to care for them to ensure their longevity and vibrancy. Proper care will keep your printed mugs looking as good as new and extend the life of your designs.
Hand Washing vs. Dishwasher: While many printed mugs are advertised as dishwasher-safe, it's generally best to hand wash them to preserve the design. The high heat and strong detergents in dishwashers can sometimes cause the print to fade or peel over time. Use a mild detergent and a soft sponge or cloth to clean the mug gently.
Avoid Abrasive Materials: When cleaning your printed mugs, avoid using abrasive scrubbers or harsh cleaning agents. These can scratch the surface and damage the printed design. Instead, opt for non-abrasive sponges and mild dish soap.
Microwave Safety: Always check whether your printed mugs are microwave-safe. Some sublimation inks and coatings may not withstand the high heat of a microwave, which can lead to fading or damage to the design. If in doubt, reheat your beverages using a microwave-safe container.
Storage Tips: Store your printed mugs in a cool, dry place away from direct sunlight. Prolonged exposure to sunlight can cause the colors to fade over time. If stacking mugs, place a soft cloth or paper towel between them to prevent scratching.
Avoid Extreme Temperatures: Sudden changes in temperature can cause thermal shock, potentially leading to cracks or damage in the mug and its design. Avoid pouring boiling liquids directly into a cold mug or vice versa.
By following these care guidelines, you can ensure that your printed mugs remain vibrant and durable for years to come. Whether they are treasured gifts or custom merchandise for your business, proper care will keep them looking their best.
Welcome, and thanks for supporting and patronizing WorkingGran-Gran2020 Print On Demand Website and Platform. Your support helps me to help and donate to the homeless and shelterless organizations. May the Lord richly bless you in your support. Visit our shop to explore more custom designs and unique products.